Fully Edentulous
CT scanning appliance instructions
Method 1 Instructions:
Suremark™ Markers
Step 1
Place three SureMark™ markers on the labial side of the denture and three on the palatal side.
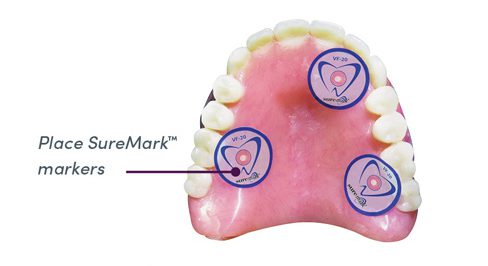
Place SureMarkTM markers
Step 2
Place the denture on a foam block properly orientating the teeth and place on the CT Scanner rest. Make sure the foam block is in the proper Field Of View (FOV) for the CT scan.
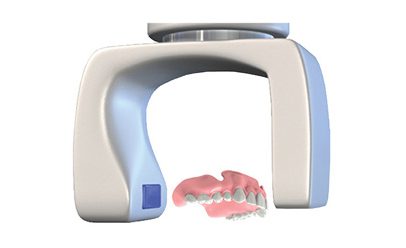
Place denture on block
Step 3
Next, have the patient insert the complete denture with SureMark™ Markers into their mouth and separate the patient’s arches with cotton rolls.
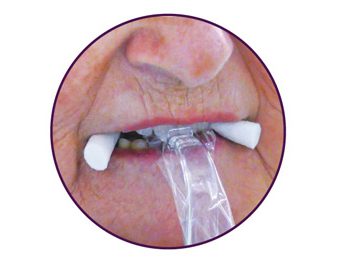
Place denture back into mouth
Step 4
Take the patient’s CT Scan and send or upload files to Implant Solutions®. Include the following: CT scan of patient wearing complete denture and CT scan of prosthetic.
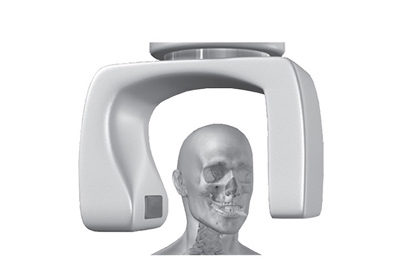
Take CT scan
Method 2 Instructions:
Conventional Scanning Appliance
Step 1
Impression. Take upper and lower polyvinyl or polyether impression of patient’s features. Ridges, borders, hamular notches and retromolar pads must be present and accurately impressed.
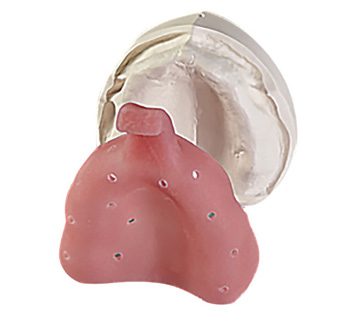
Impression
Step 2
Base Plate/ Bite Rims. Using the provided impression, Implant Solutions® fabricates a base plate/bite rim. Use the base plate/bite rim provided to register the vertical dimension. Mark midline and contour the bite rim to fit patient’s facial features.
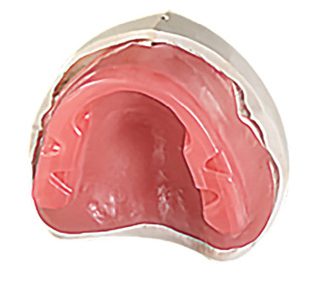
Base plate/bite rim
Step 3
Set Up. Based on the provided records, Implant Solutions® fabricates a setup with barium sulfate teeth. Try-in setup and address all cosmetic and phonetic requirements. If changes are needed, relay information back to Implant Solutions® and evaluate if new try-in is needed.
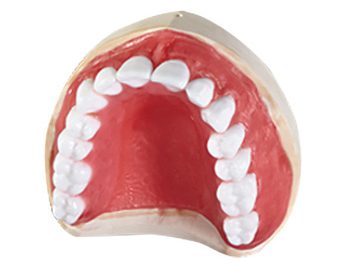
Set-up
Step 4
Scanning Appliance. Utilize the set-up in step 3 as the patient scanning appliance.

Scanning Appliance
Step 5
Cotton Rolls. Before taking CT scan with the conventional appliance in place, separate the patient’s jaws with cotton rolls.
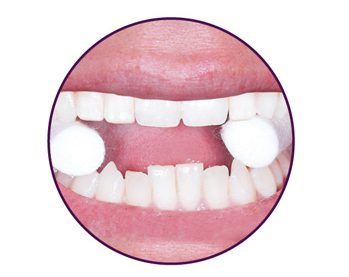
Place cotton rolls


